
WELCOME TO GMS ACCOUNTING ONLINE HELP
The help you need at your fingertips.
You are here: Tools > Organization > Organizational Information
Organizational Information
Operating Instructions
Name: Enter the organization name as you want it to appear on reports. The default limit of characters to print on reports is between 50 and 60 characters.
Address: Enter 1 or 2 lines of address up to 50 characters for each line.
Note: If both a PO Box and street address are entered, the street address must be entered on the second address line.
City: Enter city name.
State: Select the 2-character state abbreviation approved by the U.S. Postal Service or choose from the drop down list.
Zip: Enter the zip code and use dashes where appropriate.
Phone: Enter the telephone number in the ###-###-#### format.
Federal ID: Enter the organization’s 9-digit federal ID number, no dashes.
Client ID: Assigned by GMS, Inc. specific to each agency, cannot be changed.
GMS RLSS: If using the RLSS supplement RLSS Books, enter the RLSS directory path.
Start Period: The beginning date of current fiscal year in MM/DD/YYYY format will automatically change when rolling forward and reversing.
Current Period: Enter the current month ending date in MM/DD/YYYY format. This will automatically change when the Month End button is clicked after monthly activities. Note: If the Current Period needs to be changed, the date cannot be outside of the current fiscal year.
Fiscal Year: Enter the 4-digit fiscal year. This will automatically be changed when rolling forward and reversing.
Ending Period: The ending date of the current fiscal year in MM/DD/YYYY format. This will automatically be changed when rolling forward and reversing.
NOTE: Start and Ending periods and fiscal year fields are blocked from editing.
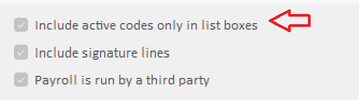
Include active codes only in list boxes: If this box is checked, only active GL Project and Element Codes will be included in all list boxes.
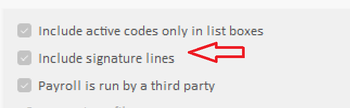
Include signature lines: Click on this check box to have 3 signature lines and dates appear on the batch control sheets of all books of entry. The three signature lines are: Prepared by, entered by and verified by.
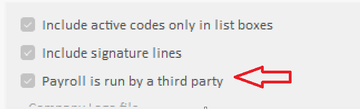
Payroll is run by a third party: Click on this check box if you outsource your payroll.
Activate TI Locality: Click on this check box to add a Local tax code column to Timesheet data entry.

Enable PO Description in voucher: Check this box if the PO description is to replace the voucher description when the PO # is entered in the voucher. Uncheck the box if you do not want the PO description to replace the voucher description.

Company Logo File: The company logo entered in this box will appear on the Accounts Receivable Invoice when printed/reprinted. The file selected must be a .jpg file. For best results, the .jpg size should be 2 X 1.3. Otherwise, it will expand or shrink.
Open: Selecting this option will bring up the “Open” box. Browse to find the company logo.
Clear: Selecting this option will clear the logo .jpg file.
Open: Selecting this option will bring up the “Open” box. Browse to find the company logo.
Clear: Selecting this option will clear the logo .jpg file.
